By Savicom News
Tip #1: Add personalization to the subject line
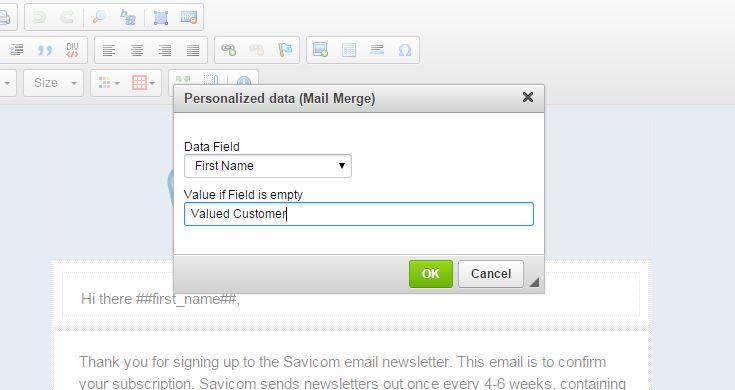
Adding a personal touch to the subject line, such as a first name, a local geographic reference, or interest increases open rates. In one case study, adding an individual's first name to a subject line yielded up to a 48.5% lift in open rates.

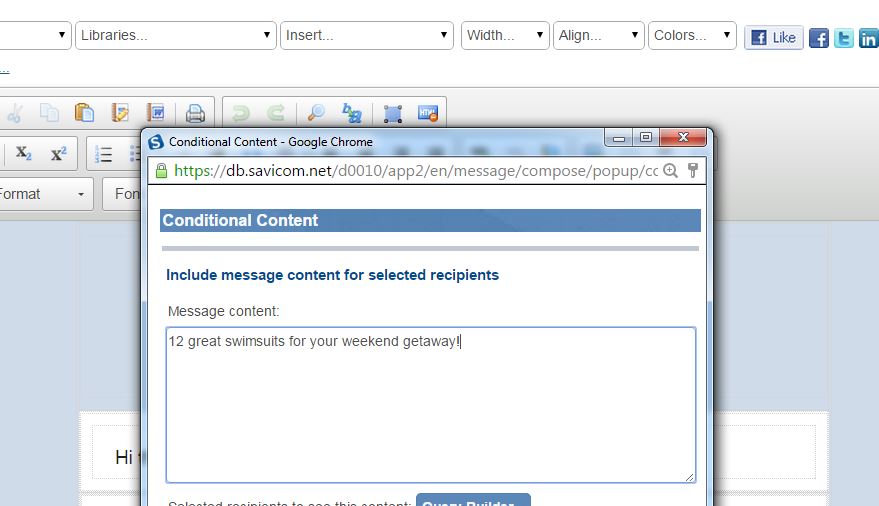
You'll also need to add an alternate subject line in case the personalized data field is blank. If you want to get more sophisticated, you can use the "Conditional content" feature to build your own personalized subject line. The Conditional content token will appear in the body; you'll just have to cut and paste it into the subject line field.
Tip #2: Add personalization to email copy
Give your email a familiar feel by writing copy in the 2nd person ("you"). Take your personalization one step further by including personal details in the email to assert relevancy, such as using their first name, unique membership ID numbers, last four digits of a credit card, or recent purchase history.
Tip #3: Add images relevant to a recipient's interest
Pack shot images of recent abandoned browse items has long been effectively utilized in abandoned browse/wish list-type emails. For a subtle-yet-effective twist, use a recent browse item as a background image behind the offer you present them.
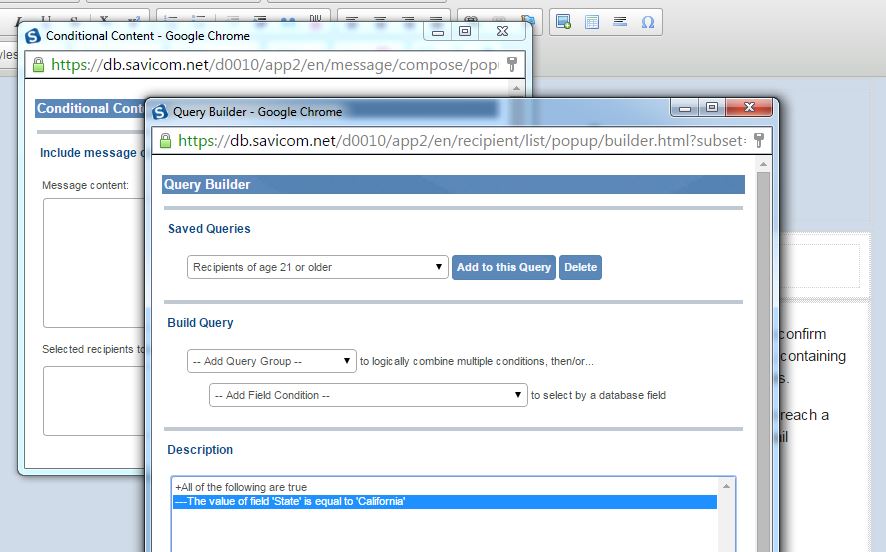
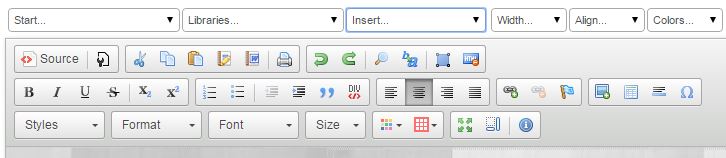
Next, highlight the image reminder you wrote yourself and go to "Insert" then select "Image." [Alternately, you can click on the insert image icon in the menu bar, which looks like a Polaroid picture with a green circle in the bottom right corner.] If the image is not in your image library, activate the ImageFetch feature by typing in the URL of the image from your website that you wish to display and clicking "Fetch." If you don't know the image's URL, just go to your website, right click on the image and select "Copy Image Location." You can then paste directly into the URL field. Click OK. Repeat those steps for as many different groups as you'd like to target. If you would like to ensure that everyone will receive an image, then create a final group by selecting "None of the following are true" in the conditional selector and entering a composite of all of the features you targeted.
Tip #4: Present a personalized offer
Don't settle for a standard offer—they don't. Instead of presenting a blanket offer to your entire list, give them an offer based on past purchase history. Don't forget to call out what behavior gave them that special offer (ex.: "Just for you since you reached VIP status").
Tip #5: Include personalized data politely and appropriately
Over-personalization does not exist. Customers appreciate the effort and attentiveness to give a personal touch to your emails. However, while they appreciate your attentiveness, inappropriate or overly aggressive uses of data can appear stalker-ish and send them packing.
Use data appropriately—if you are sending a simple order confirmation email, the last four digits of an individual's SSN doesn't need to be included. How did you know that, anyhow?
Be polite with data—there is a big difference between "We noticed you were interested in…" and "Here are a few items we thought you might be interested in…" One makes you seem like Big Brother, the other like the helpful company butler.